



Brow Architecture Navigation Menu
- The Anatomy of a Brow Hair: Why Blunt Cuts Ruin Lamination
- The Engineering Behind Curved Scissors: Following Natural Anatomy
- The Engineering Behind Straight Shears: When Geometry Demands Flat Edges
- The Lamination Nightmare: Trimming Errors That Destroy Lifts
- The Professional Parallel Trimming Protocol (Step-by-Step)
- Tool Calibration: Testing Tweezer Symmetry and Scissor Sharpness
- Comparison Matrix: Curved vs. Straight Blades in Brow Design
- Frequently Asked Questions (FAQ)
- Conclusion: Elevating Utility to an Art Form
⚡ Quick Summary: The Trimming Axiom
- The Core Difference: Curved scissors mimic the natural roundness of the orbital bone, making them ideal for blending and shaping brow perimeters. Straight shears excel at sharp, geometric lines and mapping validation.
- The Golden Rule: Never cut hair straight across in a horizontal line. This blunt trimming pattern creates immediate visual gaps, steps, and stiff, prickly hairs that ruin a brow lamination.
- The Strategy: Always brush the hair into its natural growth direction and trim at a parallel angle, thinning the bulk rather than aggressively chopping the length.
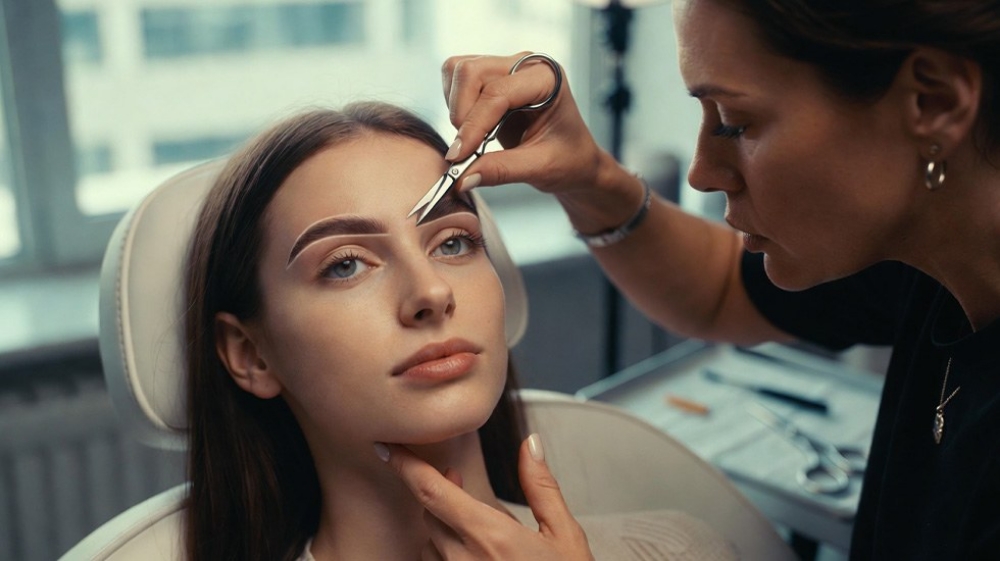
In high-end brow styling, there is a very fine line between an elite, feathered brow and a patchy, over-trimmed disaster. One wrong cut can destroy weeks of natural hair growth and leave noticeable gaps in the brow map. Brow trimming is not just about reducing length; it is an architectural process that requires the right tools, exact angles, and a deep understanding of hair anatomy. To deliver premium results, master stylists must master the engineering differences between professional tweezers and scissors.
The Anatomy of a Brow Hair: Why Blunt Cuts Ruin Lamination
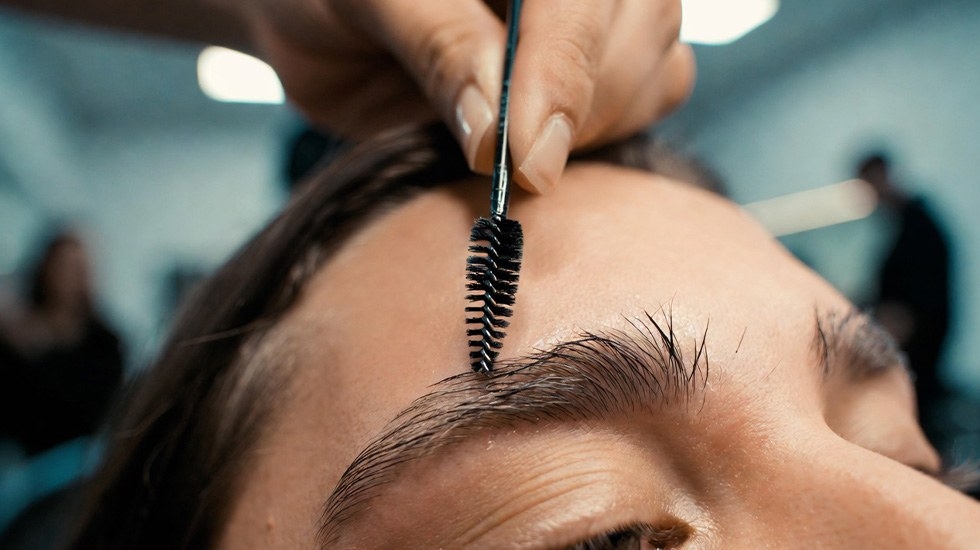
Every natural eyebrow hair has a highly specific physiological lifecycle and structural morphology. A healthy, untouched eyebrow hair tapers organically from the root toward the tip, finishing in a very soft, ultra-fine point. This biological tapered profile is essential because it allows the hairs to lay completely flat against the skin’s surface, overlapping and blending over one another to create a cohesive, dense, and fluid brow shape.
When an amateur or untrained stylist performs a heavy, horizontal blunt cut straight across the hair shaft, they completely slice off this natural tapered tip. This leaves behind a thick, wide, flat, and heavy cross-section edge. Without its fine tip, the remaining hair shaft loses its natural flexibility and becomes incredibly rigid, stiff, and prickly to the touch.
When you attempt to lift, redirect, and restyle these blunt-cut hairs during a brow lamination service, they actively rebel against the chemical solution. Instead of lying down smoothly in a sleek, feathered pattern, their rigid bases force them to stand straight out away from the client's face. This erratic growth pattern casts harsh, uneven shadows across the brow map, making the overall design look blocky and unnatural. To maintain fluid movement, an expert stylist must never slice through the hair mass uniformly.
The Microscopic Impact of Blunt Inconsistencies
Under a microscope, a blunt-cut eyebrow hair looks like a chopped log rather than a refined strand. These heavy edges catch light harshly, making the brow color look uneven and patchy. Furthermore, blunt edges make daily grooming nearly impossible for the client at home, as no brow gel or styling wax will have enough hold to tame hairs that have lost their biological taper.
The Engineering Behind Curved Scissors: Following Natural Anatomy
Curved brow scissors are not just a design preference; they are specifically engineered to mimic the complex, rounded curves of the human skull and the orbital bone structure. The stainless steel blades are forged on a precise, upward-curved arc. This unique ergonomic curvature serves a critical safety and functional purpose: it allows the stylist to rest the back of the scissor blades perfectly flat against the skin's surface without digging the sharp, pointed tips into the client's ultra-sensitive eye area.
When trimming along the upper perimeter, the delicate front, or the soft descent of the brow arch, curved shears follow the natural sweep of the brow line seamlessly. They allow you to isolate and trim single, stray hairs right at their biological base while blending lengths perfectly into the dense core body of the brow design. This curved engineering softens the entry and exit points of every single cut, ensuring that your trimming looks fluid, layered, and entirely natural rather than artificial, boxy, and harsh.
The Engineering Behind Straight Shears: When Geometry Demands Flat Edges
Straight shears are manufactured with completely flat, un-curved blades that snap together with absolute geometric uniformity from pivot to tip. These tools are fundamentally not intended for soft blending, delicate feathering, or organic shaping along curved facial bone structures. Instead, straight shears are the ultimate calibration and validation tool for creating sharp, ultra-clean, and high-definition mapping lines.
Straight shears excel at clearing out unruly bulk in a single, crisp, uniform line across the lower perimeter of a brow map, or defining the sharp, dramatic tails of highly structured brow designs. They are also highly favored when working with very coarse, thick, and stubborn hair textures—such as in professional male brow grooming—where clean, solid geometric lines are preferred over soft, wispy edges. However, because the pointed tips of straight scissors project directly ahead in a flat plane, the stylist must maintain an elevated, precise hand angle at all times to prevent accidental nicks or pinching of the skin.
The Lamination Nightmare: Trimming Errors That Destroy Lifts
Combining aggressive, uncalculated trimming with a chemical brow lamination service is one of the quickest ways to cause an absolute styling failure. When brow hair is laminated, its internal disulfide bonds are broken and reset, making the hair chemically straightened and brushed upwards. This temporary placement makes the hairs appear significantly longer than they actually are in their natural state. If you trim the brow perimeter while the hairs are freshly laminated and pinned straight up, you are aggressively shortening hairs that normally lay horizontally to fill the body of the brow.
The nightmare begins roughly one to two weeks after the appointment. As soon as the chemical lamination relaxes slightly, or when the client washes their face and attempts to brush them into a natural daily style, those blunt-trimmed hairs drop back down into their original resting positions. Because they were chopped short while stretched upwards, they are now far too short to reach the next layer of hair, creating immediate, highly visible empty patches, steps, and internal structural gaps. The general global industry consensus is to limit trimming to an absolute minimum during active lamination appointments, focusing exclusively on removing structural rebels that disturb the clean silhouette.
The Professional Parallel Trimming Protocol (Step-by-Step)
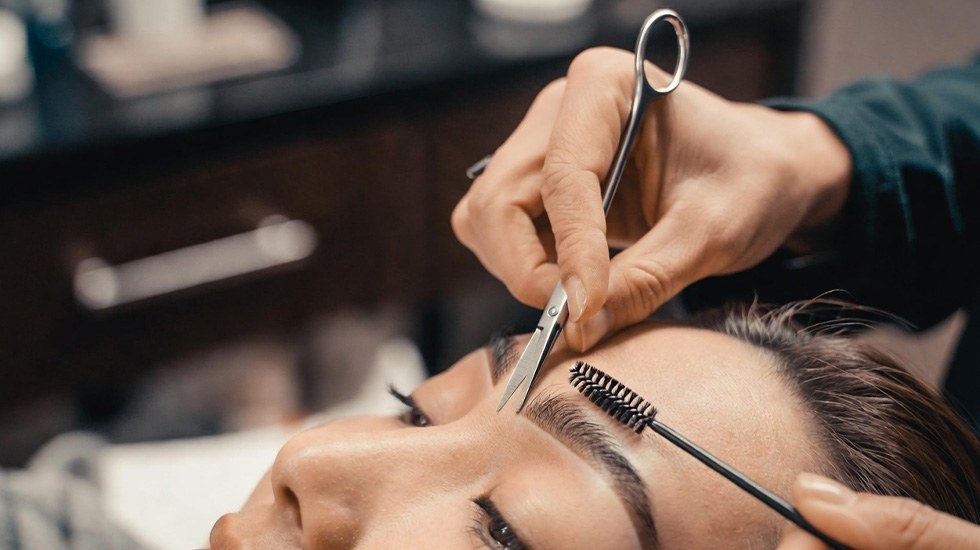
To eliminate the risk of accidental gaps and build a perfectly manicured brow arch that retains its natural depth, premium salons rely on a strict parallel micro-trimming protocol. This technique ensures that you soften the heavy hair mass and remove unaligned bulk without altering the foundational fullness of the brow perimeter.
Step 1: Micro-Combing and Directional Isolation
Never attempt to trim brows that are messy, tangled, or holding product residue. Use a clean, dry spoolie brush to comb the eyebrow hairs into their natural, organic pattern of growth.
- The Front: Gently brush the head of the brow upward and outward at a strict 45-degree angle.
- The Body & Tail: Brush down and outward along the natural structural descent of the arch line to expose the true outliers.
Step 2: Setting the Perimeter Line
Gently use your spoolie to lift only the longest, wildest tips that extend far beyond the planned, mapped perimeter line.
- The Hold: Use your index finger to press and hold the base of the hair softly against the skin.
- The Purpose: This prevents you from over-stretching the hair follicles or lifting the hair too high off its natural plane, which always leads to accidental over-cutting once the tension is released.
Step 3: The Parallel Snip Technique (Angled Micro-Trimming)
Hold your curved scissors with the curve pointing upwards, matching the natural contour of the skull. Do not hold the blades horizontally across the brow line like a lawnmower. Instead, position the scissor blades completely parallel to the angle of hair growth.
- The Execution: Slide the ultra-fine tip of the blade vertically into the hair mass and make micro-snips at a steep angle.
- The Chemical Result: This precise point-cutting method cuts individual hair tips at varying heights rather than a flat line. This thins out excess bulk and weight while completely preserving the soft, organic taper of the overall brow shape.
Protocol Checklist: Trimming Angles & Spoolie Guidance
To ensure your hands maintain the correct structural alignment during the parallel trimming protocol, utilize this operational breakdown for each zone of the brow:
| Brow Zone | Spoolie Guiding Direction | Scissor Blade Alignment | Target Outcome |
|---|---|---|---|
| The Head (Front) | Upward & outward at a strict 45° angle. | Vertical (90° parallel to vertical hair growth). | Feathered, airy front without boxy edges. |
| The Arch (Body) | Following the natural slope toward the temple. | Steep diagonal angle (parallel to follicle slant). | Reduced interior bulk while retaining vertical depth. |
| The Tail | Downward & outward along the orbital descent. | Downward diagonal (following the point of the tail). | A sharp, crisp tail end completely free of blunt weight. |
Tool Calibration: Testing Tweezer Symmetry and Scissor Sharpness
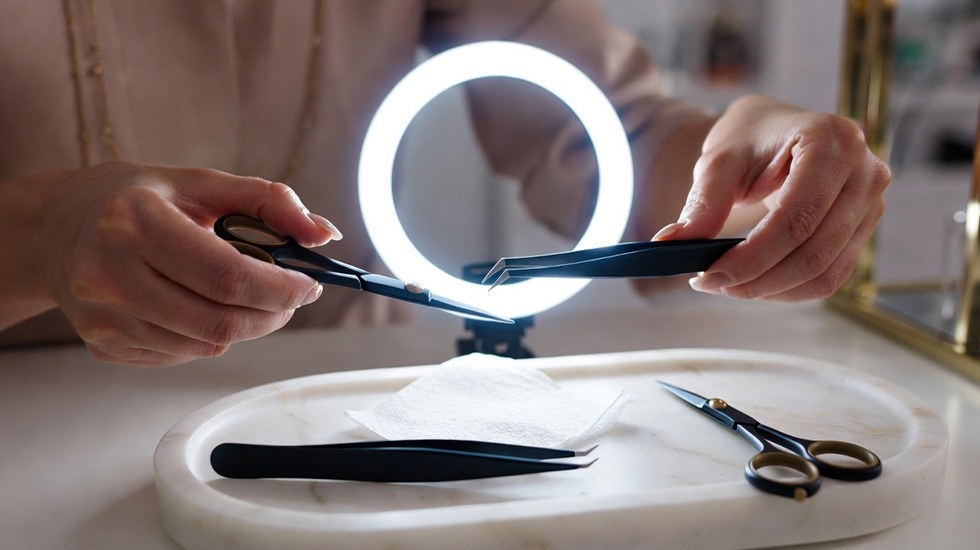
Your finished brow artistry can only be as precise as the physical calibration of the tools sitting on your salon tray. Dull scissor blades do not slice through hair cleanly; instead, they exert uneven pressure that bends, pinches, and crushes the delicate hair shaft before hacking through it. This mechanical trauma leaves behind frayed, split ends that frizz over time and look dry under salon lighting. To test your scissor sharpness, try making a micro-cut into a single fiber of a dry, lint-free wipe. If the fabric bends or snags instead of slicing instantly, the blades have lost their calibration and need immediate replacement.
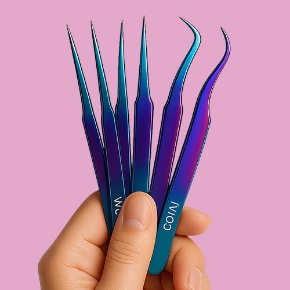
Symmetry is just as critical when mapping out your foundational brow geometry. To guarantee a flawless balance across both brow arches before you ever make your first scissor cut, you must utilize micro-calibrated, high-grade isolation tools. Working with a professional set like the Premium Metal Tweezer Set provides the ultimate level of structural alignment, zero-slip grip, and balance needed to confidently map, isolate, and sculpt perfectly balanced brow arches across any complex facial bone structure.
Comparison Matrix: Curved vs. Straight Blades in Brow Design
This comparison overview highlights the practical differences and styling applications for both professional blade shapes:
| Blade Type | Anatomical Alignment | Primary Technique | Gap Risk Factor |
|---|---|---|---|
| Curved Scissors | High (Matches orbital bone contour) | Soft blending, arch detailing, point cutting. | Very Low (Blends into hair layers) |
| Straight Shears | Low (Ignores body curves) | Sharp geometric outlines, bulk mapping, thick textures. | High (If used horizontally across the brow) |
Frequently Asked Questions (FAQ)
Should I trim the eyebrows before or after applying tint?
Always trim the eyebrow hairs *after* the tinting process is fully completed. Tinting often darkens the very fine, translucent baby hairs at the top of the brow line, making the true fullness of the brow visible. If you trim beforehand, you risk cutting hairs that appeared invisible but were necessary to maintain the brow's natural structure.
Why do trimmed eyebrow hairs stick straight out after a few days?
This happens when hairs are trimmed using a heavy horizontal blunt cut instead of an angled parallel cut. Removing the natural tapered tip leaves a thick, rigid cross-section that cannot bend easily, forcing the hair to grow straight outward from the skin follicle.
How can I fix a gap that was accidentally cut into a brow?
You cannot physically fix a cut hair, but you can hide the mistake. Use a deep-staining brow henna or a hybrid dye to stain the skin beneath the gap, creating an optical shadow that covers the space until the hair regenerates. For daily maintenance, recommend a lightweight styling wax or serum to brush neighboring hairs over the area.
Conclusion: Elevating Utility to an Art Form
Mastering brow architecture requires moving away from quick fixes and embracing precision styling protocols. Choosing between curved scissors and straight shears isn't about preference; it's about matching the tool's engineering to the client's anatomy. By switching to angled parallel cutting methods, you ensure every brow stays full, blended, and perfectly styled.
Premium brow styling relies on high-grade tools that hold their edge. Elevate your salon’s precision mapping line with medical-grade steel instrumentation and design kits. Explore the full professional range directly through Winlash, and transform your brow services into an art form that delivers exceptional, long-lasting results every single time.