
Emergency Rescue Navigation Menu
- The Biology of Under-Processing: Why Did the Lashes Fail to Curl?
- Diagnostic Step: Testing for Structural Elasticity Before Re-Lifting
- The Core Chemistry of Compensation Theory: Re-Calibrating Your Timing
- The Step-by-Step Emergency Re-Lift Protocol
- Post-Correction Shielding: Flooding the Cortex with Structural Keratin
- Protocol Checklist: Under-Processed vs. Over-Processed Lashes
- Frequently Asked Questions (FAQ)
- Conclusion: Master Stylists Control the Chemistry
⚡ The 60-Second Emergency Rescue Card
- The Core Problem: An under-processed lash lift occurs when Lotion 1 is removed before breaking enough disulfide bonds ($S-S$ bonds), leaving the eyelashes completely straight or dropped immediately after removal.
- Can You Re-Lift the Same Day? Yes, but only if the hair passes a mechanical elasticity test. If the hair is healthy but structurally stubborn, you can safely perform an immediate corrective lift.
- The Compensation Rule: Never reuse the original processing time. For an immediate re-lift, you must apply a reduced exposure formula—typically 30% to 50% of your baseline timing—to avoid over-processing.
There is no moment more stressful for a lash artist than cleansing away your final setting solution, removing the silicone shields, and realizing the client's eyelashes are completely straight. An under-processed lash lift feels like an absolute disaster in a busy salon setting. The client is unhappy, your schedule is compromised, and you are left facing a critical clinical dilemma: do you send them home with dropped lashes, or do you risk chemical damage by applying perm lotions a second time? Mastering this situation requires moving away from guesswork and adopting a scientific framework known as Compensation Theory using premium lash and brow lift products.
This advanced emergency manual details how to safely diagnose under-processed lashes, calculate reduced chemical processing windows, and confidently re-lift eyelashes during the very same appointment without breaking the hair cortex.
The Biology of Under-Processing: Why Did the Lashes Fail to Curl?
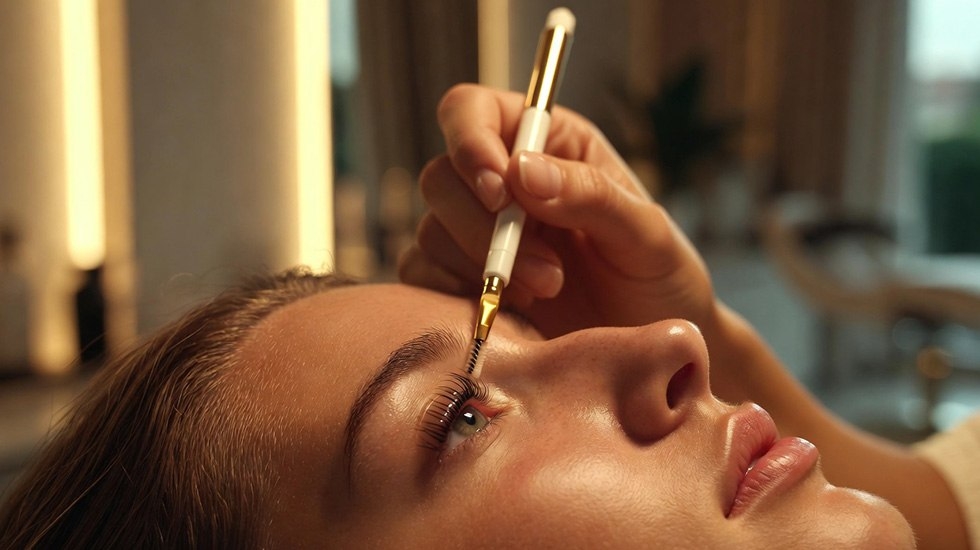
To fix a failed lift safely, we must first analyze the molecular chemistry behind why the hair rejected the curl. A lash lift relies entirely on the reduction and oxidation of disulfide bonds ($S-S$ bonds) inside the hair's keratin cortex. Lotion 1 (thioglycolate-based) introduces hydrogen molecules that break these rigid bonds apart, softening the hair so it can mold to the shape of your silicone shield.
An under-processed lash lift means that Lotion 1 was removed too early. Not enough disulfide bonds were broken to allow the structural shift to take place. This structural failure typically happens due to three core salon errors:
- Misjudging Hair Thickness: Coarse, thick, or low-porosity Mediterranean and Middle Eastern hair types possess tightly packed cuticle scales that require longer exposure windows to allow chemical penetration.
- Barriers of Skin Sebum or Adhesive Residue: If the natural lashes were not thoroughly de-greased, or if an excess layer of traditional lift glue was smeared over the shield, the lotion is physically blocked from reaching the hair marrow.
- Hormonal Defiance: High levels of cortisol, thyroid imbalances, or active pregnancy can alter the internal oil production and density of the hair fiber, making it highly resistant to standard processing formulas.
Diagnostic Step: Testing for Structural Elasticity Before Re-Lifting
Before you even touch your chemical sachet bags for a second round, you must perform a strict safety evaluation. You must determine if the lashes are truly *under-processed* (healthy but un-curled) or if they are actually *chemically damaged* but sitting straight due to structural collapse. Re-lifting a damaged lash will melt the hair cortex entirely.
Take a professional isolation tool or micro-brush and gently press an eyelash upward against the shield. Look closely at the tips under a magnifying lamp. If the lashes are completely straight, feel firm, and retain their clean, sharp tapered points, they are under-processed and safe for a corrective treatment. However, if the tips appear slightly crinkled, singed, or feel overly stretchy and gummy like wet elastic, the hair has been structurally compromised. In this scenario, any further chemical application is strictly forbidden.
The Core Chemistry of Compensation Theory: Re-Calibrating Your Timing
If the lashes pass the elasticity test, you can proceed with an immediate corrective application inside the same appointment window. This is where Compensation Theory comes into play. Because a small percentage of disulfide bonds were broken during the initial attempt, the hair is no longer considered "virgin" or untreated.
Therefore, you must never reuse your baseline processing time. Doing so will inevitably lead to extreme over-processing. To calculate your new, safe exposure window, apply a reduced mathematical formula based on the thickness of the hair:
📐 The Compensation Math Formula
Take the original processing duration you implemented in step one, and reduce it to a fraction of the time based on hair resistance:
- Fine/Thin Lashes: Process for exactly 30% of the original processing duration (e.g., if original time was 10 minutes, your re-lift time is exactly 3 minutes).
- Medium/Normal Lashes: Process for exactly 40% of the original duration (e.g., a 10-minute baseline becomes a 4-minute corrective window).
- Coarse/Resistant Lashes: Process for exactly 50% of the original duration (e.g., a 12-minute baseline reduces to a 6-minute corrective window).
The Step-by-Step Emergency Re-Lift Protocol
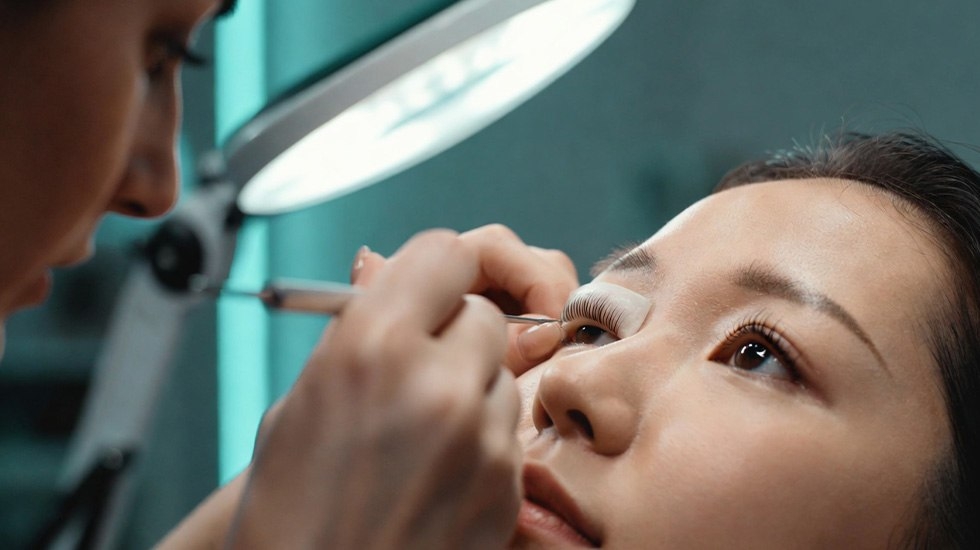
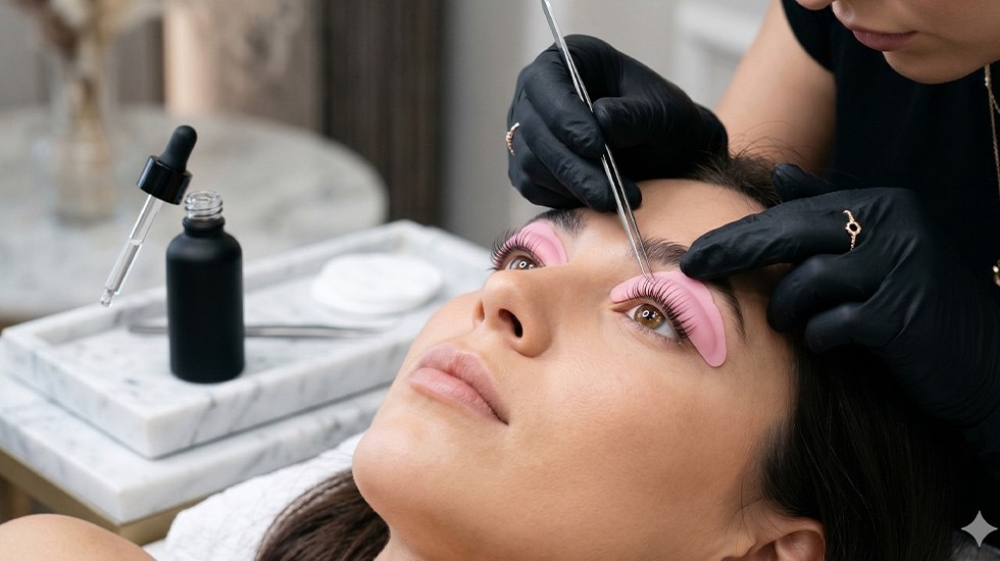
To execute a flawless corrective lift safely, follow this precise salon workflow to guarantee uniform results without triggering chemical trauma:
Step 1: Neutralizing and Deep Cleansing the Lash Area
Ensure that all residual traces of Lotion 2 or tint are entirely stripped away. Wash the lash line thoroughly with an oil-free foam cleanser, rinse with a damp cotton pad, and blow-dry the lashes completely using a mini styling fan. Any lingering moisture will weaken your adhesive bond in the next step.
Step 2: Re-aligning on the Shield with Zero Tension
Place a clean silicone shield onto the eyelid. If the original shield size produced zero lift, drop down one size smaller to achieve a more dramatic root curve. Re-attach the eyelashes onto the shield using a minimal, ultra-thin layer of adhesive. Do not over-stretch or pull the hair fibers with extreme tension; the hair is vulnerable, and excessive pulling can cause the roots to lift away from the skin follicle.
Step 3: Applying Lotion 1 with Reduced Compensated Timing
Using a micro-brush, apply Lotion 1 strictly to the root zone and lower one-third of the lash body. Keep the product far away from the fragile tips. Set your digital countdown timer to your newly calculated **Compensated Processing Time**. Stand over your client and monitor the hair visually every 60 seconds. Remove the lotion immediately when the timer ends using a completely dry cotton swab.
Step 4: Double Stabilizing with Neutralizer
Apply Lotion 2 (Neutralizer) over the exact same area. The neutralizer introduces oxygen to rebuild the broken disulfide bonds into their new, lifted shape around the shield. Process Lotion 2 for the exact same duration as your compensated Lotion 1 time. Remove thoroughly with a damp pad.
Operational Checklist: Emergency Re-Lift Stage Controls
To ensure absolute precision and avoid structural stress during each phase of the emergency re-lift protocol, implement these targeted technical controls:
| Protocol Step | Critical Action Required | Chemical / Mechanical Target | Risk Avoidance Factor |
|---|---|---|---|
| Step 1: Cleansing | Deep wash with oil-free foam + 100% fan dehydration. | Complete removal of lingering oxidizers and surfactants. | Prevents patchy adhesive bonding and unintended chemical neutralization. |
| Step 2: Re-alignment | Drop down one shield size; apply ultra-thin balm/glue layer. | Perfect isolation with zero root tension. | Prevents follicle mechanical shock and root detachment. |
| Step 3: Lotion 1 | Apply strictly to the lower 1/3 of the lash body; use compensated timing. | Targeted breaking of remaining disulfide ($S-S$) bonds at the root. | Eliminates the risk of frying or singeing the fragile, porous lash tips. |
| Step 4: Stabilization | Process Lotion 2 matching the exact reduced timing of Lotion 1. | Rapid re-oxidation and locking of structural polypeptide chains. | Prevents long-term internal processing and subsequent hair structural fading. |
Post-Correction Shielding: Flooding the Cortex with Structural Keratin
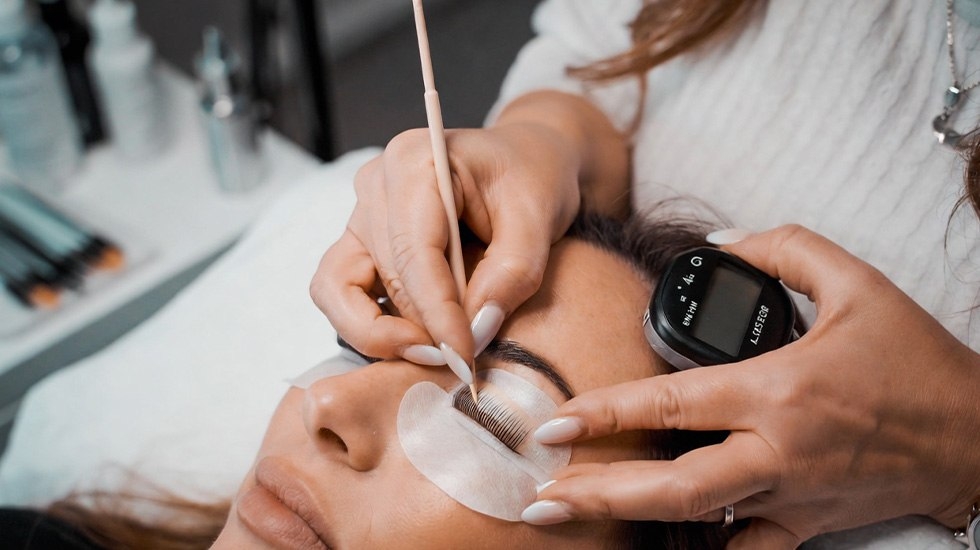
Because the hair structure has gone through two back-to-back chemical reduction processes in a single hour, the internal moisture levels and polypeptide chains will be deeply depleted. The final step of this protocol is not optional; it is a mandatory restorative process to prevent long-term dehydration.
You must immediately flood the open hair cortex with an intensive, low-molecular-weight structural nutrient solution. Applying a highly concentrated professional product like the My Lamination Vitamin Lash Brow Serum is vital. This advanced serum acts as an internal structural shield, delivering amino acids, hydrolyzed keratin, and vitamins deep into the hollow spaces of the cortex, plumping the lash body and sealing the outer cuticle layer shut.
To complete the service and prevent environmental elements from causing moisture loss over the next 24 hours, apply a protective coating of the lipid-rich My Lamination Inspiration Balm. This lightweight barrier locks in the keratin nutrients, ensuring the newly corrected lift looks incredibly glossy, uniform, and healthy.
Protocol Checklist: Under-Processed vs. Over-Processed Lashes
Before initiating an emergency corrective lift, use this professional diagnostic checklist to confirm that your client's hair is truly under-processed and safe to treat:
| Physical Symptom | Under-Processed (Safe to Re-Lift) | Over-Processed (Do Not Touch!) |
|---|---|---|
| Lash Tip Profile | Perfectly straight, holding natural tapered points. | Crinkled, singed, fuzzy, or curling backwards. |
| Mechanical Elasticity | Firm, holds shape when touched with a tool. | Gummy, weak, overly stretchy when wet. |
| Corrective Action | Immediate re-lift with 30-50% reduced timing. | Deep hydration treatment only; wait 4-6 weeks for hair cycle to reset. |
Frequently Asked Questions (FAQ)
Can I use a completely different brand of lift lotions for the corrective lift session?
No. It is highly recommended to stay within the exact same brand system for the re-lift session. Different brands use vastly different chemical bases, pH levels, and processing strengths. Mixing brands back-to-back can trigger an unpredictable chemical reaction that could damage the hair cuticle.
What if the lashes drop again after the second compensated lift attempt?
If the lashes fail to hold a curl after a proper corrective attempt, stop immediately. The hair follicles are likely dealing with a deep hormonal resistance or a severe lack of structural disulfide bonds. Send the client home with an intensive keratin serum and schedule a fresh baseline appointment in 4 to 6 weeks.
Is it safe to tint the eyelashes during a corrective re-lift appointment?
Yes, you can tint, but you must be extremely cautious. Tinting requires a developer (oxidant) which can add extra structural fatigue to the hair. If you choose to tint after a re-lift, drop your developer volume down to a gentle 1.5% or 2% concentration, and reduce the tint processing time to just 2 to 3 minutes max.
Conclusion: Master Stylists Control the Chemistry
An under-processed lash lift is a stressful situation, but a master stylist doesn't rely on luck to fix it—they rely on chemical science. By applying Compensation Theory, accurately checking hair elasticity, and using precise, reduced exposure windows, you can easily turn a salon error into a stunning, uniform lift before your client ever leaves the chair.
The key to handling emergency troubleshooting successfully is equipping your workstation with stable, clinical-grade chemical systems that prioritize hair health. Elevate your salon’s precision and control with premium lifting lines and restorative aftercare treatments. Explore the full professional range directly through Winlash, and transform your lash services into a predictable science that delivers flawless results every single time.