


Learning how to apply cluster lashes is much easier than it looks, as long as you get three things right: a thin layer of bond, placement just underneath your natural lashes (never on the waterline), and a clean seal. Cluster lashes are small, pre-made groups of lash fibres that you attach yourself, which makes them a flexible at-home alternative to eyelash extensions applied one by one by a trained artist. This guide walks you through every stage, from prep and lash mapping to sealing, troubleshooting and safe removal.
Quick answer: Clean and dry your lashes, curl them if you like, apply a thin layer of cluster lash bond, place each cluster under your natural lashes (starting at the outer corner and keeping a small gap from the waterline), gently press to blend, then apply the seal after the waiting time in your product instructions. Remove with a lash adhesive remover, never by pulling.
Quick Access
- What You Need Before You Start
- How to Choose and Map Your Cluster Lashes
- How to Apply Cluster Lashes Step by Step
- Where to Place Cluster Lashes (and Why Not on the Waterline)
- Safety First: Before You Glue Anything Near Your Eyes
- Common Mistakes and How to Fix Them
- How Long Cluster Lashes Last and How to Care for Them
- How to Remove Cluster Lashes Safely
- Cluster Lashes vs. Strip Lashes vs. Lash Extensions
- Frequently Asked Questions
- Final Thoughts
What You Need Before You Start
Having everything within reach before you open the bond saves you from rushing, and rushing is where most clumps and misplaced clusters come from. Use a well-lit mirror, ideally one that magnifies slightly, and sit at a table so your hands can rest steady.
| Item | What it does | What to look for |
|---|---|---|
| Cluster lashes | Pre-made lash segments you attach to your natural lashes | Soft, lightweight band and a length range that suits your eye shape |
| Cluster lash bond | Holds the clusters to your natural lashes | A bond made for cluster lashes, not professional extension adhesive |
| Seal | Locks in the bond and reduces stickiness | A seal designed to pair with your bond |
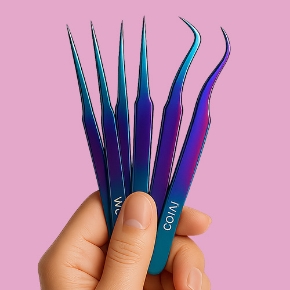
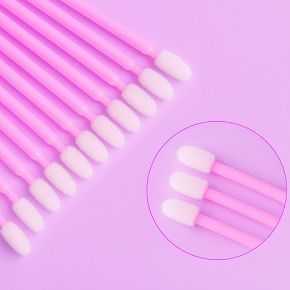
| Applicator or fine tweezers | Picks up and positions each cluster | Fine tip and a grip that feels steady in your hand |
| Oil-free cleanser | Removes makeup, oil and residue before application | Gentle formula suitable for the eye area |
| Lash curler (optional) | Lifts natural lashes so clusters blend more easily | Clean pad in good condition |
| Clean spoolie | Brushes the finished set into place | Soft, dry and used only for lashes |
| Lash adhesive remover | Dissolves the bond for safe removal | A remover made for lash adhesive and compatible with your bond |
How to Choose and Map Your Cluster Lashes
Mapping simply means planning which lengths go where before any glue comes out. A natural-looking set is usually built with shorter clusters at the inner corner, medium lengths through the middle and the longest clusters at the outer corner, which lifts and opens the eye. Lay your clusters out on the back of your hand or a clean surface in the order you plan to apply them, so you are never guessing mid-application.
If you are still deciding on style, you can browse volume cluster lashes in different densities and lengths. As a beginner, lighter and shorter clusters are easier to control and are gentler on fine natural lashes, since heavy clusters can lift sooner or put extra stress on the lash.
| Eye shape | Where to focus length | Mapping tip |
|---|---|---|
| Almond | Fairly even; slight lift at the outer corner | Most mapping styles suit this shape, so choose by the look you want |
| Round | Outer corners | Longer outer clusters elongate the eye |
| Hooded | Middle and outer | Keep clusters lightweight and not overly long so they don't rest against the lid |
| Close-set | Outer corners | Keep the inner corner short to create more visual space |
| Wide-set | Inner and middle | Add a little more length toward the centre for balance |
Treat this table as a starting point rather than a rule. Faces vary, so adjust after your first attempt based on what looks and feels right.
How to Apply Cluster Lashes Step by Step
Work calmly and apply one eye at a time. Keep in mind that bond and seal products differ in how long they need to sit before the next step, so the instructions on your own product always come first.
Step 1: Clean and Dry Your Lashes
Remove makeup and wash your lash line with a gentle, oil-free cleanser. Even when lashes look clean, traces of moisturiser, sunscreen or natural skin oil can create a barrier between the bond and your lashes. Rinse well and pat completely dry before moving on.
Step 2: Curl Your Natural Lashes (Optional)
Curling close to the root lifts your natural lashes and helps the clusters blend in rather than sit at a different angle. Do this before applying any bond, never after.
Step 3: Apply a Thin Layer of Bond
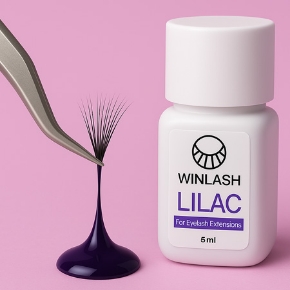
Apply a thin coat of bond to the base of your natural lashes in a mascara-like motion, or to the cluster band if that is what your product instructions recommend. Thin is the key word. Too much bond makes lashes clump together and harder to position, and it may stay gummy instead of setting properly. Then wait for the bond to become tacky. Guides and products quote different times, from a few seconds to a minute or more, because formulas differ, so follow the timing on your bond.
Step 4: Place the Clusters
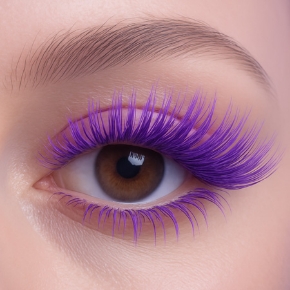
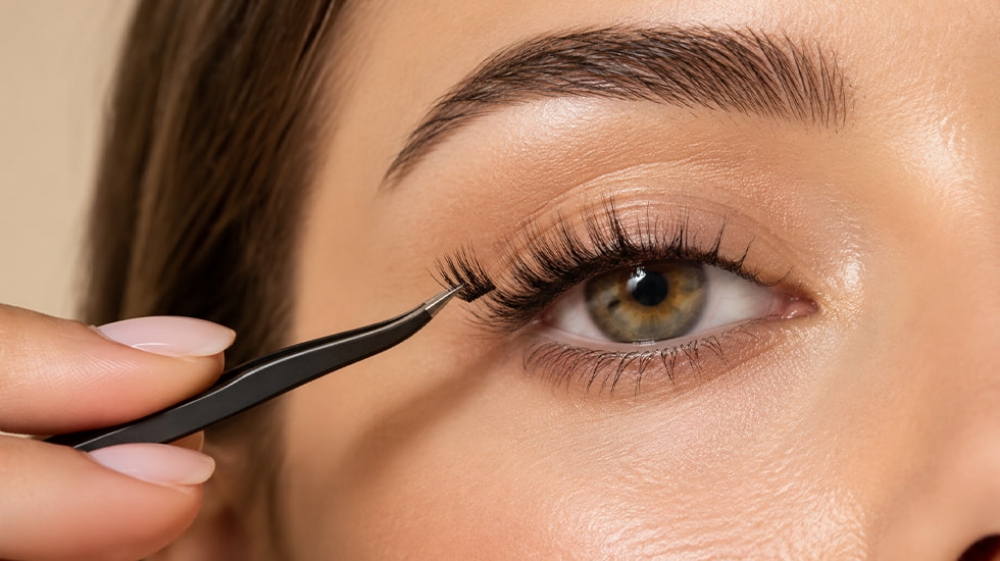
Look slightly downward into the mirror. Pick up a cluster with your applicator and place it underneath your natural lashes, close to the root but with a small gap from the waterline. Start at the outer corner and work inward, using the lengths you mapped earlier. Overlap clusters slightly or leave tiny gaps depending on how full you want the look, and avoid packing them tightly together.
Step 5: Press and Blend
Once a few clusters are in place, gently press them against your natural lashes from the base, not the tips, so the bond grips evenly. Lightly pinching clusters and natural lashes together helps them merge into one smooth line.
Step 6: Apply the Seal
When all clusters are placed and the bond has had its recommended time, apply the seal to the base of the lashes. The seal locks the bond in and reduces stickiness. Use a light touch, as too much seal can make the lashes look clumpy or stiff, and keep it off your skin.
Step 7: Do a Final Check
Brush through gently with a clean spoolie and check comfort. If you can feel a cluster when you blink, or one pokes your skin, it is in the wrong place. Remove that single cluster and replace it with a slightly shorter one set a little higher.
Where to Place Cluster Lashes (and Why Not on the Waterline)
Cluster lashes are designed to attach to your natural lashes, not to the skin of your eyelid or the waterline. The waterline contains oil glands that help keep the eye hydrated and protected, so keeping adhesive and lash bands away from that area helps prevent irritation. Placement also affects wear time: when clusters sit too close to the waterline, tears and natural moisture can break the bond down sooner.
A simple rule is to leave a small gap, roughly a millimetre, between the cluster and the waterline, or follow the distance recommended on your product. The cluster should hook under your natural lashes at the root without touching skin.
Safety First: Before You Glue Anything Near Your Eyes
- Patch test. Test the bond and remover on a small area of skin following the manufacturer's patch-test instructions before first use, and read the ingredient list for anything you already know you react to.
- Use the right adhesive. Choose a bond made for cluster lashes. Professional extension adhesive is designed for a different use and is not intended for DIY clusters, and general strip lash glue may not hold clusters properly.
- Keep products out of your eyes. Close your eyes during application, and keep bond, seal and remover away from the waterline.
- Skip application if your eyes are already irritated. Avoid cluster lashes if you have an active eye infection, redness or irritation.
- Stop at the first warning signs. If you notice burning, swelling, persistent itching, redness or watery eyes, remove the lashes with an appropriate remover and stop using the product. If symptoms continue, or if you have eye pain or any change in vision, contact a doctor or eye care professional.
- Keep your tools clean. Wipe applicators and tweezers before and after each use, and don't share them.
Common Mistakes and How to Fix Them
| Problem | Likely cause | How to fix it |
|---|---|---|
| Clusters won't stick | Oil or residue on lashes, wrong adhesive, or placement too close to the waterline | Cleanse thoroughly, use a cluster-specific bond, and reposition slightly higher |
| Lashes clump together | Too much bond or a swiping motion | Use a thin layer and tap clusters into place instead of dragging them |
| Outer corner lifts | Cluster too long or heavy, or not pressed in well | Use a shorter, lighter cluster at the outer edge and press it firmly from the base |
| Lashes feel sticky after sealing | Too much bond or seal, or sealing before the bond was ready | Use less product next time and follow the waiting time on your bond |
| Pokey or itchy feeling | Cluster touching the waterline or skin, band too thick, or inner cluster too long | Reposition higher, use a shorter inner cluster, and stop if irritation continues |
| Set looks uneven or fake | Uniform length, uncurled lashes, or clusters packed too tightly | Map varied lengths, curl first, and leave small gaps between clusters |
How Long Cluster Lashes Last and How to Care for Them
Wear time depends on your bond, how well you prepared your lashes, how you slept, and where your natural lashes are in their growth cycle, so it is more honest to follow your product guidance than to promise a fixed number of days. A few habits make a clear difference:
- Check your product instructions for how long to keep lashes dry after application.
- Avoid oil-based makeup removers and heavy creams near the lash line, as oil weakens the bond.
- Don't rub, pick or tug at the clusters.
- Brush through gently with a clean, dry spoolie.
- Remember that sweat, humidity and tears add moisture around the lash line. In hot, humid weather, a thin and well-sealed application tends to hold up better than a heavy one.
How to Remove Cluster Lashes Safely
Never pull or peel clusters off, because that can take natural lashes with them. Instead, use a remover made for lash adhesive and follow its directions. In general, apply the remover along the lash line without letting it get into your eyes, give it the recommended time to soften the bond, then slide the clusters off gently. Wash away any remaining residue with a mild cleanser. If a cluster resists, apply more remover and wait rather than forcing it.
Cluster Lashes vs. Strip Lashes vs. Lash Extensions
| Cluster lashes | Strip lashes | Professional extensions | |
|---|---|---|---|
| Who applies them | You, at home | You, at home | A trained lash artist |
| Attachment | Bond and seal under natural lashes | Strip glue along the lash line | Professional adhesive, one extension per natural lash |
| Customisation | Mix lengths and density yourself | Limited to the strip's design | Fully customised to your eye shape |
| Wear time | Short term, varies by product | Usually removed each day | Longer term with refills |
| Best for | A natural-to-full look without a salon visit | Quick one-off occasions | A long-lasting, polished finish |
Frequently Asked Questions
How long does it take to apply cluster lashes?
Your first attempt will take longer than later ones, especially if you map your lengths beforehand. Rushing is the most common cause of clumping and misplacement, so give yourself plenty of time and let your technique speed up with practice.
Can I use eyelash extension glue for cluster lashes?
No. Professional extension adhesive is made for trained application, not for DIY clusters. Use a bond and seal made for cluster lashes and follow its instructions.
Can I sleep in cluster lashes?
That depends on the product. Some bond and seal systems are designed for multi-day wear, but pressing your face into a pillow can still lift the lashes. Check your product instructions, and remove the lashes if you notice any irritation.
Why do my cluster lashes itch or feel poky?
The most common reasons are a cluster sitting on the waterline or skin, a band that is too thick, or an inner-corner cluster that is too long. Reposition slightly higher or use a shorter cluster. If the itching comes with redness or swelling, stop using the product, as it may be a reaction to the adhesive.
Do cluster lashes damage natural lashes?
They shouldn't when applied and removed correctly. Problems tend to come from using too much adhesive, placing clusters too close to the lash line, wearing heavy clusters on fine lashes, or pulling them off instead of dissolving the bond.
How do I stop cluster lashes from clumping?
Use a thin layer of bond, let it become tacky as directed, and tap clusters into place rather than swiping. Apply the seal sparingly and brush through gently with a clean spoolie.
Final Thoughts
Once you know the basics, cluster lashes become a quick and flexible way to customise your look: clean lashes, a thin layer of bond, careful placement off the waterline, and a light seal. Take your time on the first few attempts, put comfort ahead of drama, and stop if anything feels wrong. If you prefer a salon-quality finish or have sensitive eyes, a trained lash artist is the better choice. To explore lash products, tools and more, visit Winlash.