


Quick Access to This Article
- The Chemistry Behind Cyanoacrylate and Pigment Separation
- Why Pigment Separation Affects Lash Retention
- Manual Shaking: How It Works and Where It Falls Short
- Glue Shakers: How They Work
- How to Choose the Right Glue Shaker for Your Studio
- Manual Shaking vs. Glue Shaker: Side-by-Side Comparison
- Signs Your Adhesive Isn't Properly Mixed
- Common Mistakes When Mixing Lash Adhesive
- How to Shake Lash Glue Correctly
- Cyanoacrylate Safety: Handling Fumes and Skin Contact
- Frequently Asked Questions
- Conclusion
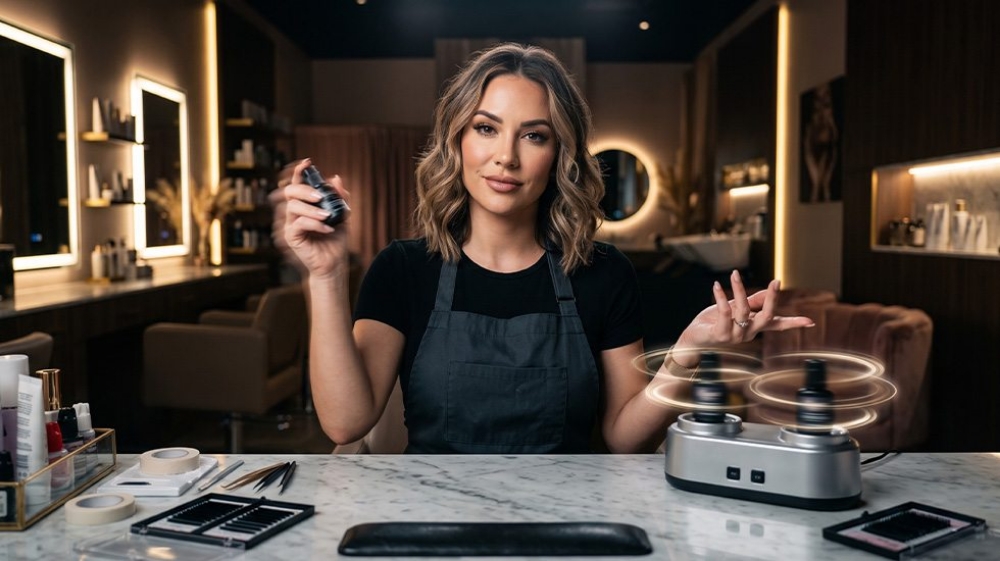
If your lash retention has ever been inconsistent for no obvious reason, the answer might not be your technique — it could be sitting in the bottle. Lash adhesive is a formulated mixture, not a single liquid, and its components naturally separate when the bottle sits still. Understanding the chemistry behind this pigment separation, and comparing Manual Shaking vs. Lash Glue Shakers, can make the difference between a flawless set and a frustrating one.
In this guide, we break down the actual chemistry behind cyanoacrylate and pigment separation, look at why it matters for retention, compare manual shaking with glue shakers side by side, and walk through how to properly mix your adhesive before every application.
The Chemistry Behind Cyanoacrylate and Pigment Separation
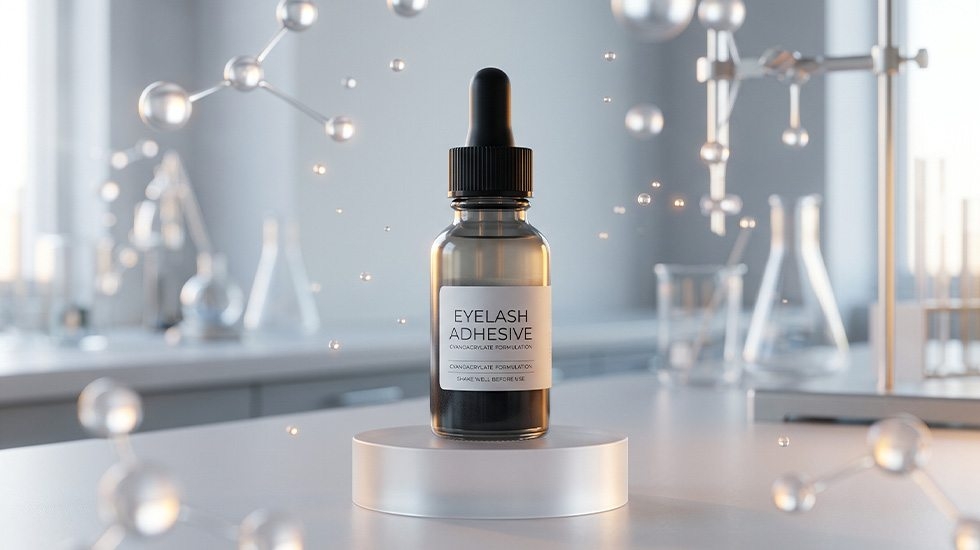
Most professional lash adhesives are cyanoacrylate-based, but cyanoacrylate is never used alone. A typical formula combines several components with very different densities:
- Cyanoacrylate — the core bonding agent that cures on contact with moisture
- Polymethyl methacrylate (PMMA) — added for long-term bond strength and flexibility
- Carbon black (pigment) — gives the adhesive its deep black color
- Stabilizers such as hydroquinone — keep the formula liquid and workable until it's applied
These ingredients don't share the same density, so gravity slowly pulls them apart when the bottle is left standing. Heavier components like carbon black and PMMA tend to settle toward the bottom, while lighter stabilizers rise to the top. This is what the industry calls pigment separation — visually, it shows up as a lighter or grayish band near the top of the bottle and a darker, denser layer underneath. The bottle can look uniform from the outside while being chemically uneven inside, which means a drop taken without mixing can be mostly pigment, mostly stabilizer, or anywhere in between.
Why Pigment Separation Affects Lash Retention
Retention depends on the adhesive curing with the correct balance of cyanoacrylate and its supporting components. When a drop is pulled from a poorly mixed bottle, that balance is off in one of two directions:
- A drop with too little cyanoacrylate and too much stabilizer bonds weakly and can lead to premature shedding within days rather than weeks
- A drop with too much cyanoacrylate and too little stabilizer can cure too fast, increasing the risk of a poor bond, fuming, or the extension setting before it's properly positioned
Because pigment separation happens gradually and invisibly at first, it's easy to blame retention problems on humidity, prep, or aftercare when the real cause is simply an unmixed bottle. This is why many experienced lash artists treat proper mixing as a non-negotiable step, not an optional one.
Manual Shaking: How It Works and Where It Falls Short
Manual shaking relies on repeated, vigorous side-to-side motion (never up and down, which can force adhesive into the nozzle and cause clogging) to physically redistribute the settled ingredients. Most manufacturers recommend at least 1–2 minutes of continuous shaking for a proper mix, and denser formulas with higher PMMA content may need even longer.
In practice, this method has a few real limitations:
- Inconsistent force: the intensity and angle of a manual shake vary from person to person, and even from hand to hand on a busy day
- Physical strain: repeating this motion multiple times per session, day after day, contributes to wrist fatigue and, over time, repetitive strain injuries
- Time pressure: when a client is waiting, it's tempting to cut the shake short — which is exactly when under-mixed adhesive causes problems
- Difficult to verify: without a fixed cycle length, it's hard to know objectively whether a bottle has actually been shaken long enough
Glue Shakers: How They Work
A dedicated glue shaker uses centrifugal or vortex motion to spin the bottle at high speed, redistributing the separated components far more evenly than a hand ever could. Most electric shakers achieve a thorough mix in 5–15 seconds, compared to the 1–2 minutes typically needed by hand.
Because the motion is mechanical and repeatable, every bottle gets the same quality of mix regardless of who's using it or how rushed the session is. This consistency is the main reason glue shakers have become standard equipment in professional lash studios rather than an optional extra, and why many artists build a quick mix into their setup routine before every single client, not just when a bottle looks visibly separated.
How to Choose the Right Glue Shaker for Your Studio
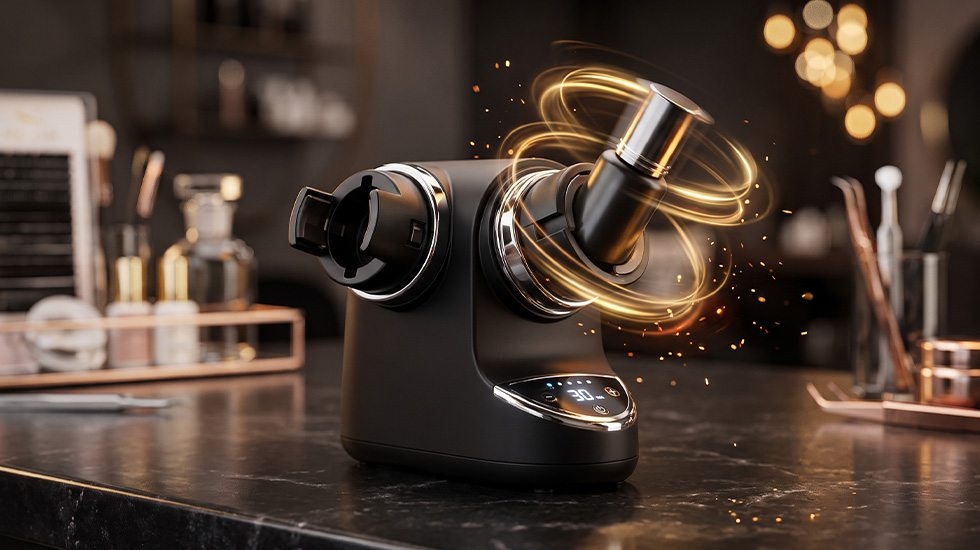
Not all glue shakers are built the same, and the right choice depends on how your studio actually works:
- Single-head vs. dual-head: a dual-head design lets you mix two bottles at once — useful if you switch between adhesives for different clients or keep a backup bottle ready
- Bottle compatibility: check that the adaptor fits the bottle sizes you actually use, since a loose fit can let the bottle move during the cycle and reduce mixing quality
- Cycle length and speed: a fixed, tested cycle removes the guesswork of "is that enough?" that comes with manual shaking
- Build stability: a shaker that stays firmly in place on the desk during operation reduces the risk of a bottle working loose mid-cycle
Manual Shaking vs. Glue Shaker: Side-by-Side Comparison
| Factor | Manual Shaking | Glue Shaker |
|---|---|---|
| Mixing time | 1–2 minutes | 5–15 seconds |
| Consistency | Varies by technician and fatigue level | Uniform, mechanical motion every time |
| Physical strain | Contributes to wrist/hand fatigue over repeated sessions | None |
| Risk of clogging | Higher if shaken up-and-down or too vigorously near the nozzle | Lower, controlled motion keeps adhesive away from the cap |
| Verifiable mix quality | Subjective, hard to standardize between artists | Consistent, fixed cycle removes guesswork |
| Upfront cost | None | One-time tool purchase |
Signs Your Adhesive Isn't Properly Mixed
Whichever method you use, it's worth knowing how to spot an under-mixed bottle before it affects a client's set:
- Visible separation: distinct layers, or a gray tone instead of a deep black, in pigmented adhesives
- Inconsistent texture: clumps, stringiness, or overly watery patches
- Altered drying time: a drop that cures noticeably faster or slower than usual, since the cyanoacrylate-to-stabilizer ratio in that drop is off balance
It's worth noting that shaking, however it's done, cannot fix adhesive that has already expired or been damaged by poor storage — for that, see our guide on proper lash adhesive storage and accessories.
Common Mistakes When Mixing Lash Adhesive
- Shaking cold adhesive straight from the fridge: cold adhesive is thicker and harder to mix properly; let it reach room temperature first for an even mix
- Over-shaking or shaking too aggressively: this can introduce air bubbles into the adhesive, which affects flow and can cause popping or fuming when a drop is dispensed
- Not resealing the cap fully: a loose cap during shaking can let adhesive leak into the threads, harden there, and make the bottle harder to open next time
- Mixing once at the start of the day only: components can begin to settle again within an hour or two, so a quick re-mix between drops during longer sessions keeps consistency up
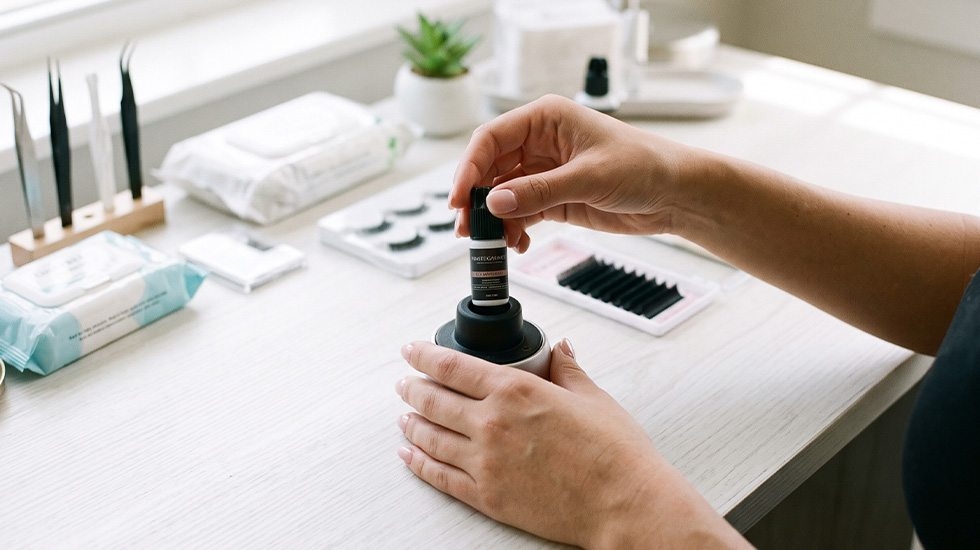
How to Shake Lash Glue Correctly
- Let the bottle reach room temperature if it's been refrigerated, since cold adhesive resists even mixing
- Hold the bottle securely by the body, not just the cap, to avoid stressing the seal
- If shaking by hand, move the bottle firmly side-to-side (not up and down) for the full recommended time — usually 1–2 minutes
- If using a glue shaker, match the adaptor to your bottle size and run a full cycle, typically 5–15 seconds
- Check the color and texture before dispensing a drop; it should look uniform, with no visible layers
- Repeat a short mix between drops during longer sessions, since components can begin to settle again over time
Cyanoacrylate Safety: Handling Fumes and Skin Contact
Proper mixing isn't just about retention — it also plays a role in safe handling. A few general precautions apply whether you shake manually or use a shaker:
- Work in a well-ventilated space, since cyanoacrylate releases fumes as it cures that can irritate the eyes and airways of both the technician and the client
- Avoid direct skin contact with the adhesive, as cyanoacrylate bonds quickly to skin as well as lash fibers
- Keep the bottle capped tightly between uses to slow curing at the nozzle and reduce fume buildup in enclosed spaces
- If irritation, persistent coughing, or an allergic reaction occurs during use, stop and ventilate the area, and consult a medical professional if symptoms continue
Frequently Asked Questions
Why does lash adhesive need to be shaken at all?
Because it's a mixture of components with different densities, including cyanoacrylate, PMMA, pigment, and stabilizers. These separate under gravity when the bottle sits still, so shaking is needed to redistribute them evenly before use.
Is a glue shaker really necessary, or is manual shaking enough?
Manual shaking can work if it's done firmly and for the full recommended time, but it's harder to do consistently under time pressure. A glue shaker removes that variability and reduces physical strain, which is why most professional studios use one.
Can shaking fix old or expired lash adhesive?
No. Shaking only redistributes ingredients that have separated — it cannot restore adhesive that has expired, been contaminated, or was stored incorrectly. If the adhesive still looks or performs poorly after a proper mix, it should be replaced.
Should I shake the bottle up and down or side to side?
Side to side. Shaking up and down can force adhesive toward the nozzle and increase the risk of clogging.
How often should I re-mix adhesive during a session?
Pigment separation can begin again within an hour or two, so a short re-mix between drops during longer sessions helps maintain a consistent bond throughout the appointment, not just at the start.
Conclusion
Pigment separation isn't a flaw in the product — it's simple chemistry, and it happens to every cyanoacrylate-based formula given enough time on the shelf. The real question is whether your mixing method reliably reverses that separation before every application. Manual shaking can get the job done, but a glue shaker delivers a more consistent mix in a fraction of the time and without the physical toll on your hands. If retention issues have been unpredictable in your studio, your mixing routine is one of the first places worth checking.
Explore our full range of professional lash adhesives and mixing tools at Winlash.